Integration Setup in EMP for Zoho Books
Steps to Integrate Setup in EMP for Zoho Books
- Login in EMP with your Login credentials.
- Go to Integration ? Integration
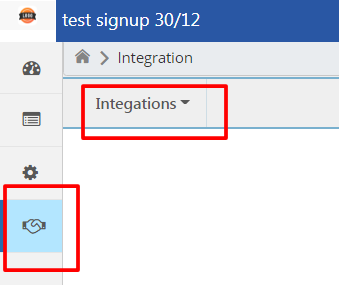
- Enable Zoho Integration toggle.
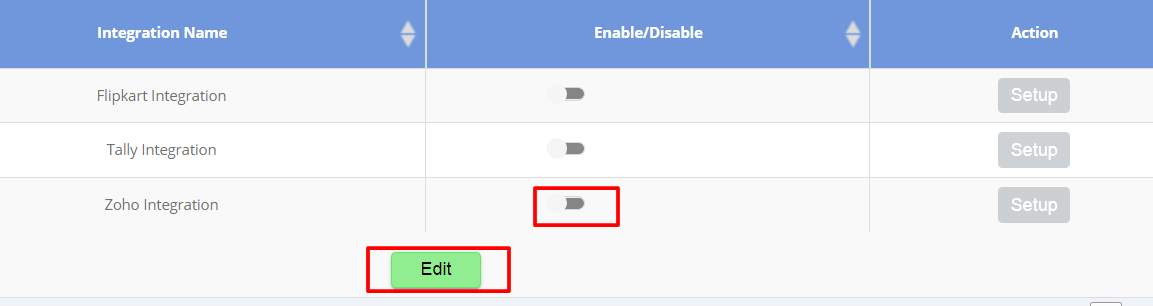
- Click on Generate Client ID
Note: A new window of Zoho API Console will open.
- Select / Add Client.
- To add client click on “Add Client” button.

- Choose Server-based Applications in Client type.
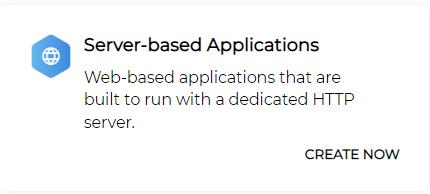
- Enter Client Name, Homepage URL, Authorized Redirect URIs and create.

Note: Kindly enter the following URLs –
- Homepage URL – https://login.easemyproduction.com/
- Authorized Redirect URIs- https://login.easemyproduction.com/
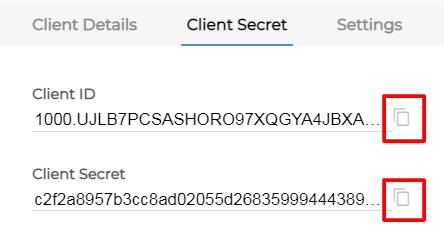
- Copy Client ID, Client Secret and paste it in EMP window.
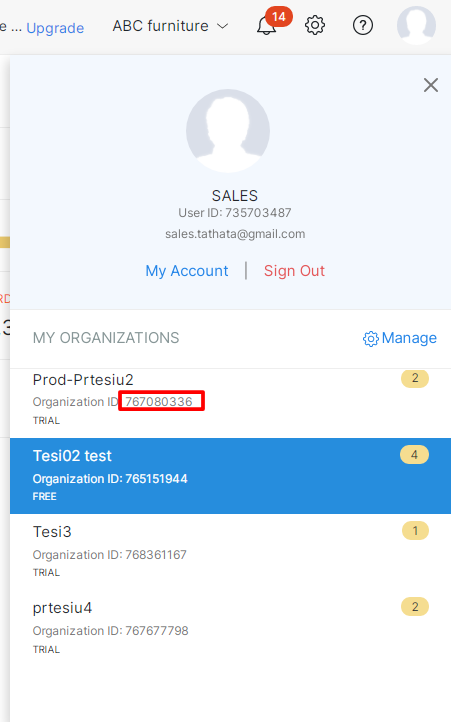
- Client ID is present in Zoho Books ? My Profile ? Manage Organization.
- Zoho Redirect URL will be same as the Homepage URL in Zoho API Console.
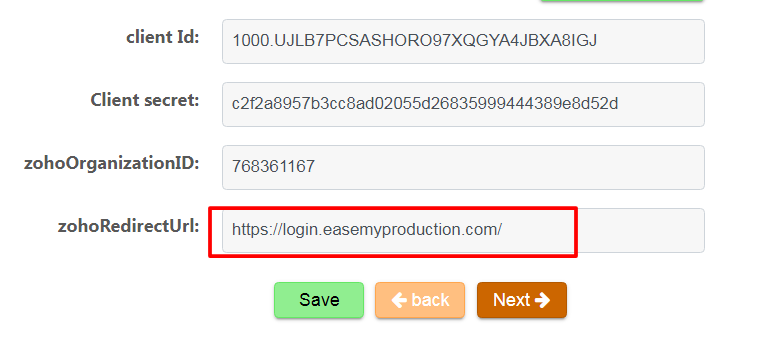
Note: Zoho Redirect URL- https://login.easemyproduction.com/
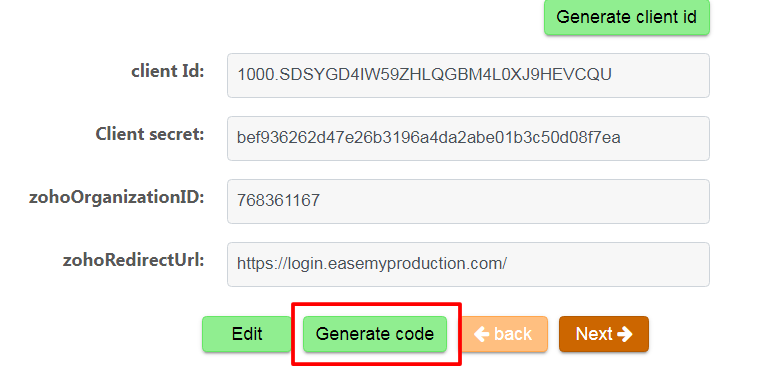
- Generate Code
- Map Facilities in EMP with Zoho branches and Zoho Extra Charges with EMP Extra Charges and save Ledger Details.

Note- 1. Branches should be enabled and available in the Zoho organization.
2.In Ledger, Fields will come auto filled, you just need to save them.
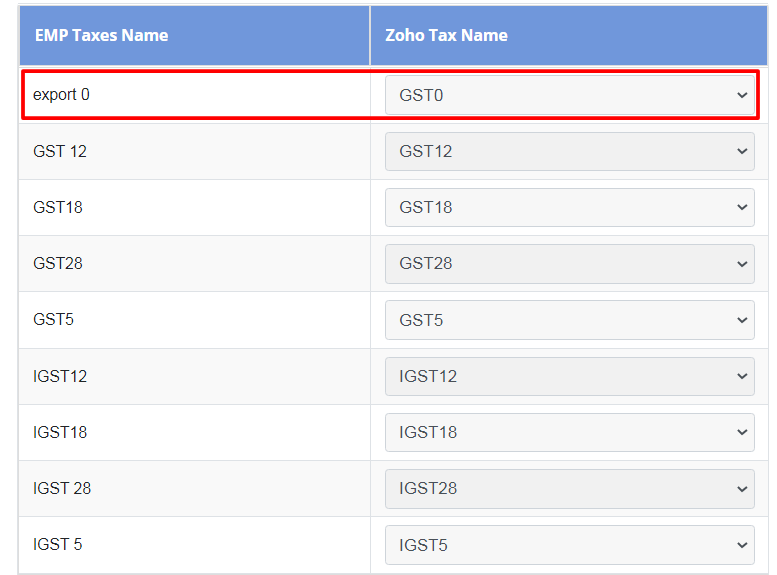
- Map EMP Taxes names with Zoho Taxes from the drop-down options.
- Map Customers, Vendors, Items, if any, from drop-down menus or go to next.
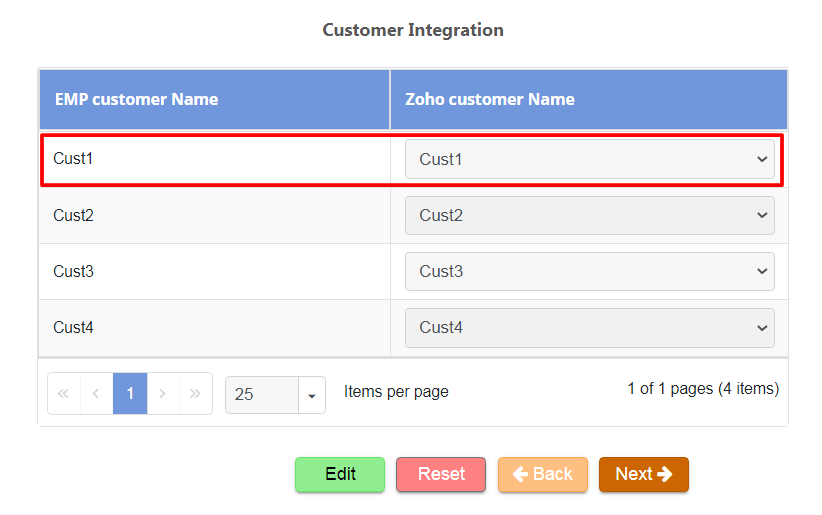
Note: To map Customers, Vendors or Items Master, the same should also be present in the Zoho Books Organization.
- Sync Customers, Vendors, Items, Purchase IRNs, Return to Vendor, for already existing data in EMP.
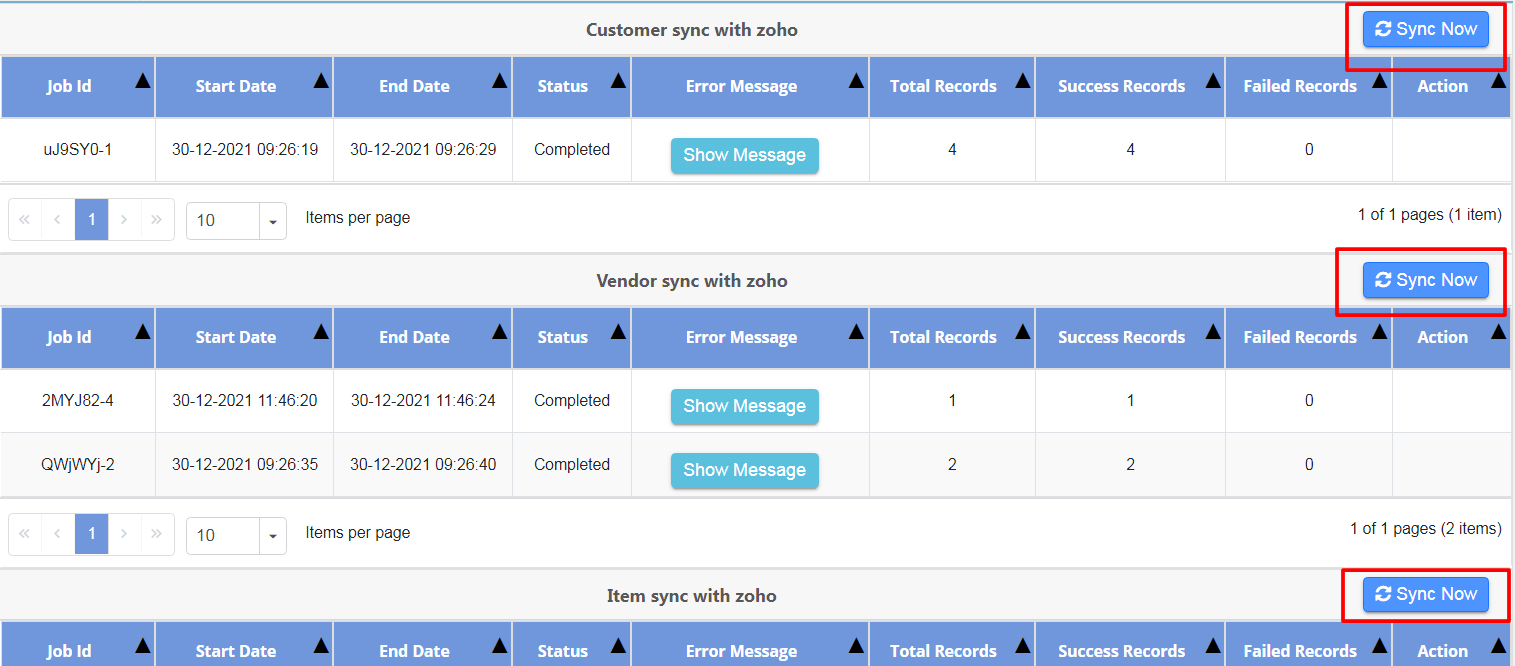
Note: By pressing “Sync Now” button the masters present in EMP will be created in Zoho Books automatically.